
Graylog is an open-source log management tool which helps you to collect, index and analyze any machine logs centrally. This guide helps you to install Graylog on CentOS 7 / RHEL 7, as well as other components.

Components:
- MongoDB – Being a database to store the configurations and meta information.
- Elasticsearch – It stores the log messages received from Graylog server and provides a facility to search them whenever required. Elasticsearch is a resource monger as it does indexing of data, so allocate more memory and use SAS or SAN disks.
- Graylog server – This does the parsing of logs that are coming from various inputs and provides built-in Web Interface to handle those logs.
Prerequisites:
Elasticsearch requires Java, so install either openJDK or Oracle JDK.
PS: I choose to install Oracle JDK.
Verify the Java version.
$ java -version

java version "1.8.0_91"
Java(TM) SE Runtime Environment (build 1.8.0_91-b14)
Java HotSpot(TM) 64-Bit Server VM (build 25.91-b14, mixed mode)
Install Elasticsearch:
Elasticsearch is one of the important components in the Graylog setup. It stores the data coming from Graylog input and displays the messages whenever a user request over the Graylog built-in web interface. Elasticseach is mainly used here to index the data/logs and provide the searching functionality when the Graylog web interface request for any information.
This guide covers basic configuration for Graylog.
Import the GPG signing key before the installation.
# rpm --import https://packages.elastic.co/GPG-KEY-elasticsearch
Create an Eleasticsearch repo file to get the latest package from the official repository.
# vi /etc/yum.repos.d/elasticsearch.repo
Add below content to above file.
[elasticsearch-2.x]
name=Elasticsearch repository for 2.x packages
baseurl=https://packages.elastic.co/elasticsearch/2.x/centos
gpgcheck=1
gpgkey=https://packages.elastic.co/GPG-KEY-elasticsearch
enabled=1
Now, Install the latest Elasticsearch package.
# yum install elasticsearch
Reload the systemctl daemon and enable Elasticsearch to start automatically on the system startup.
# systemctl daemon-reload
# systemctl enable elasticsearch
To make Elasticsearch work with Graylog setup, modify the cluster name and set it to “graylog“. Edit the elasticsearch.yml, update it like shown below.
# vi /etc/elasticsearch/elasticsearch.yml

cluster.name: graylog
Add below lines to avoid remote execution
script.inline: false
script.indexed: false
script.file: false
Restart the Elasticsearch.
# service elasticsearch restart
Give a minute to let the Elasticsearch get fully restarted. Elastisearch should be now listening on 9200 for processing HTTP request, use a CURL to check the response.
Cluster name should be “graylog”
$ curl -X GET http://localhost:9200

{
  "name" : "Marvin Flumm",
  "cluster_name" : "graylog",
  "version" : {
    "number" : "2.3.3",
    "build_hash" : "42313423cszd6ff2c41a3df5cfa32dadcfde",
    "build_timestamp" : "2017-04-12T16:49:62Z",
    "build_snapshot" : false,
    "lucene_version" : "4.6.0"
  },
  "tagline" : "You Know, for Search"
}
Optional: Perform a health check of Elasticsearch cluster, make sure the cluster status comes as “green”
$ curl -XGET 'http://localhost:9200/_cluster/health?pretty=true'

{
  "cluster_name" : "graylog",
  "status" : "green",
  "timed_out" : false,
  "number_of_nodes" : 2,
  "number_of_data_nodes" : 1,
  "active_primary_shards" : 1,
  "active_shards" : 1,
  "relocating_shards" : 0,
  "initializing_shards" : 0,
  "unassigned_shards" : 0,
  "delayed_unassigned_shards" : 0,
  "number_of_pending_tasks" : 0,
  "number_of_in_flight_fetch" : 0,
  "task_max_waiting_in_queue_millis" : 0,
  "active_shards_percent_as_number" : 100.0
}
Install MongoDB 3.2:
Setup a MongoDB repository is shown like below.
# vi /etc/yum.repos.d/mongodb-org-3.2.repo
Add a repository information to the above file.
[mongodb-org-3.2]
name=MongoDB Repository
baseurl=https://repo.mongodb.org/yum/redhat/$releasever/mongodb-org/3.2/x86_64/
gpgcheck=1
enabled=1
gpgkey=https://www.mongodb.org/static/pgp/server-3.2.asc
Install the community edition of MongoDB using the following command.
# yum install -y mongodb-org
Start the MongoDB service and enable it on the system start-up.
# service mongod start
# chkconfig mongod on
Install Graylog 2.0.3:
Graylog-server accepts and processes the log messages coming from the various inputs, displays data to requests that come from graylog web interface.
Download and Install graylog 2.x repository.
# rpm -Uvh https://packages.graylog2.org/repo/packages/graylog-2.0-repository_latest.rpm
Install Graylog server using the following command.
# yum -y install graylog-server
Edit the server.conf file to begin the graylog configuration.
# vi /etc/graylog/server/server.conf
Use the following command to create a secret
$ pwgen -N 1 -s 96

fghcx3252DSFSDdf32435b3LvXddtfDlZlKYEyGS24BJAiIxI0sbSTSPovTTnhLkkrUvhSSxodTlzDi5gP
If you get an error like “pwgen: command not found“, install pwgen using the following command.
# yum -y install pwgen
Place the secret like below in server.conf
password_secret = fghcx3252DSFSDdf32435b3LvXddtfDlZlKYEyGS24BJAiIxI0sbSTSPovTTnhLkkrUvhSSxodTlzDi5gP
Set the hash password for the root user, i.e., admin of graylog. You would need this password to login into the graylog web.
If you ever want to change/reset forgotten password of admin, you can edit/update the server.conf with hashed password.
Replace “yourpassword” with the choice of yours.
# echo -n yourpassword | sha256sum

23123123csdfvsavfsdtssdss49672c4c74e25b497770bb89b22cdeb4e951
Place the hash password.
root_password_sha2 = 23123123csdfvsavfsdtssdss49672c4c74e25b497770bb89b22cdeb4e951
You can setup email address admin user.
root_email = "emreozkan@windowslive.com"
Set timezone of root (admin) user.
root_timezone = UTC
Graylog server will try to find the Elasticsearch nodes automatically by using multicast mode. But when it comes to larger network, it is recommended to use unicast mode which is best suited one for production.
Add the following entry to graylog server.conf file, replace ipaddress with your ipaddress. You can add multiple hosts with comma separated.
elasticsearch_discovery_zen_ping_unicast_hosts = ipaddress:9300
Set only one master node by defining the below variable, the default setting is true.
If you add any second Graylog node, set it to false to make the node as a slave. Master node does some periodic tasks that slave nodes won’t perform.
is_master = true
Set the number of log messages to keep per index; it is recommended to have several smaller indices instead of larger ones.
elasticsearch_max_docs_per_index = 20000000
The following parameter defines to have a total number of indices; if this number is reached old index will be deleted.
elasticsearch_max_number_of_indices = 20
Shards setting rely on the number of nodes in the particular Elasticsearch cluster, if you have only one node, set it as 1.
elasticsearch_shards = 1
This the number of replicas for your indices, if you have only one node in Elasticsearch cluster; set it as 0.
elasticsearch_replicas = 0
Install Graylog web interface:
From the Graylog version 2.x, the web interface is served directly by Graylog server, so no more Graylog web interface setup is required.
Enable Graylog web interface by editing the server.conf file.
# vi /etc/graylog/server/server.conf
Modify the entries to let Graylog Web Interface to connect to the Graylog server.
rest_listen_uri = http://your-server-ip:12900/
web_listen_uri = http://your-server-ip:9000/
Restart Graylog service.
# systemctl daemon-reload
# systemctl restart graylog-server
Make Graylog server to start automatically on system startup.
# systemctl enable graylog-server
You can check out the server startup logs; it will be useful for you to troubleshoot Graylog for any issues.
$ sudo tailf /var/log/graylog-server/server.log
If everything goes well, you should see below message in server.log file.
2016-07-01T08:21:41.538Z INFO [ServerBootstrap] Graylog server up and running.
Firewall:
In CentOS 7 / RHEL 7, default firewall rules are set to block most of the traffic coming from the external machines.You would need to set rules for Graylog to work properly.
###  To access Graylog web interface from the externall machine

firewall-cmd --permanent --zone=public --add-port=9000/tcp

### To allow Graylog web interace to connect with Graylog server

firewall-cmd --permanent --zone=public --add-port=12900/tcp

### Optional: If you have configured any input to receive logs on port no 1514

firewall-cmd --permanent --zone=public --add-port=1514/tcp
Reload firewalld to take an effect of the new rules.
# firewall-cmd --reload
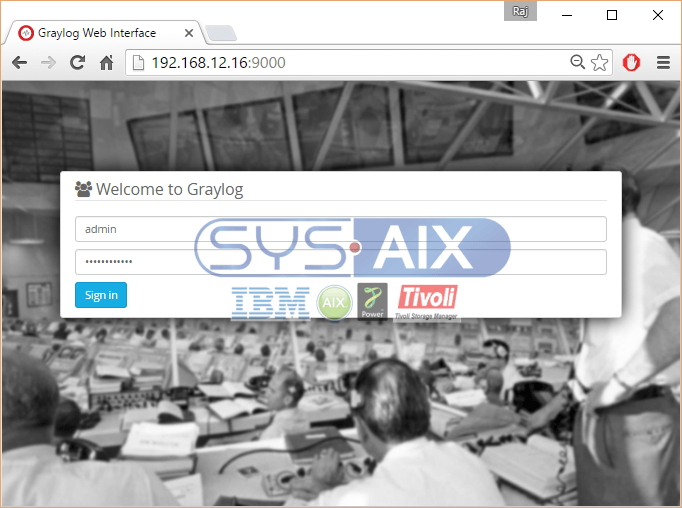
Access Graylog web interface:
The web interface will now be listening on port 9000, point your browser to
http://ip-add-ress:9000
Login with username “admin” and the password you configured at root_password_sha2 on server.conf.
Once you logged in, you would see the getting started page.
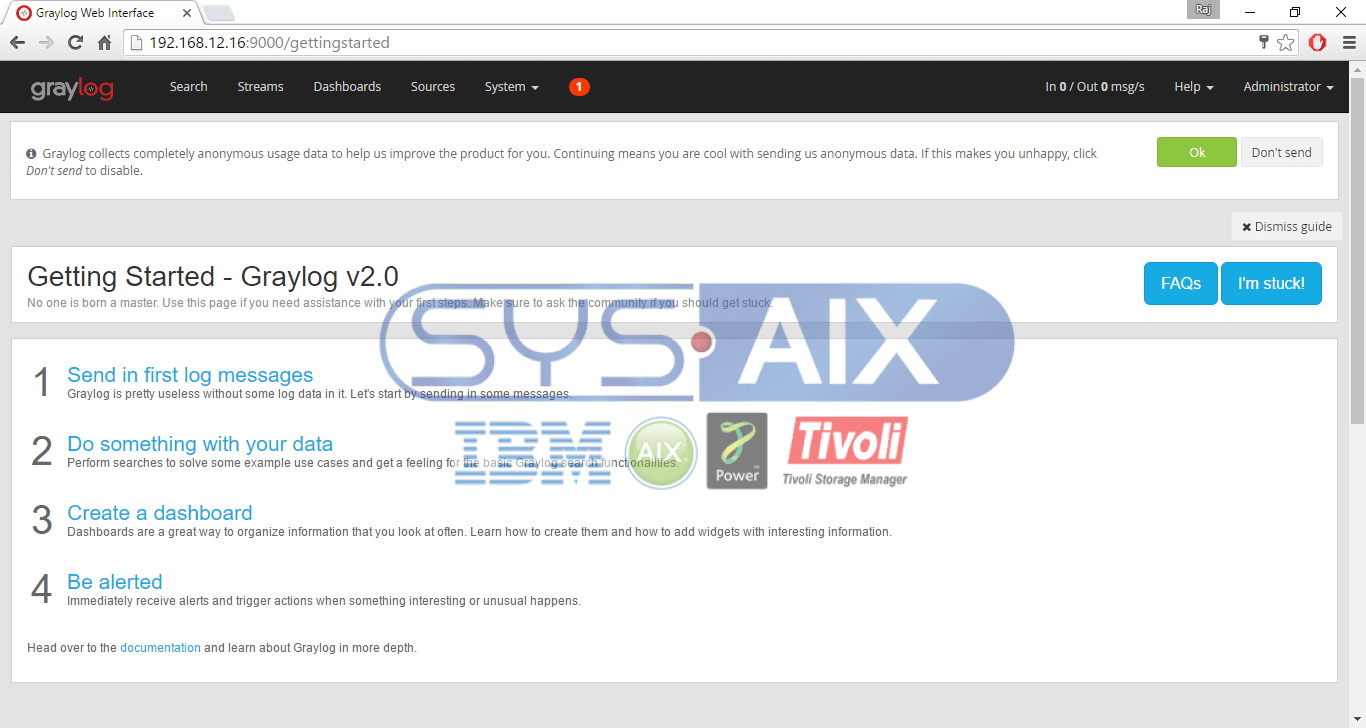
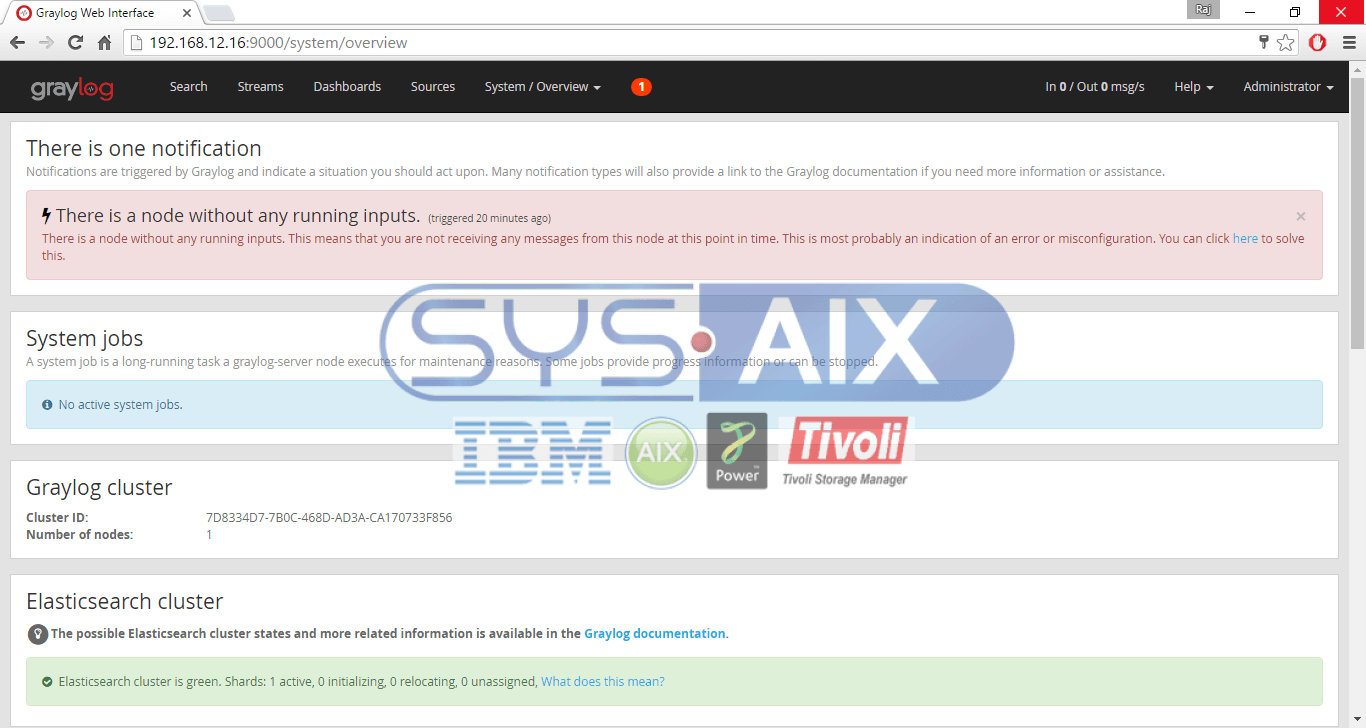
Click on System/Overview to know the status of Graylog server.
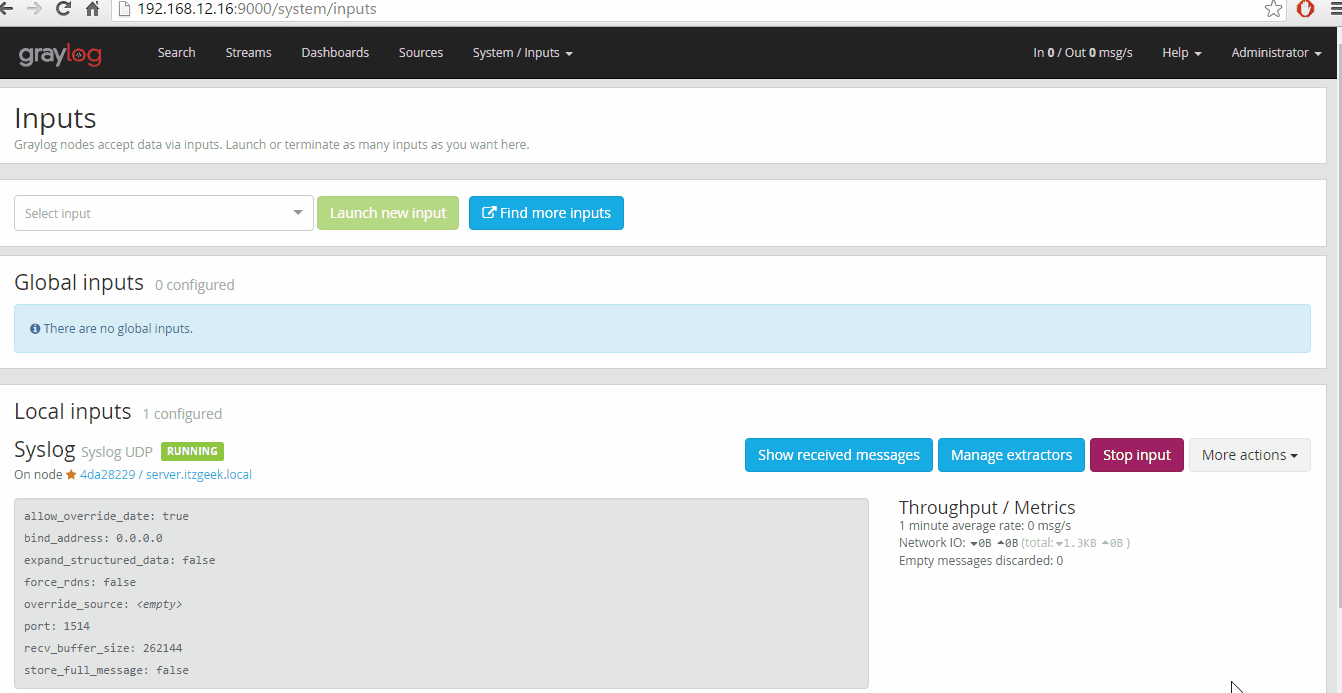
Configure Graylog Inputs:
Graylog inputs need to be configured to receive the logs from the external source, i.e., Syslog or any logging system.
Click System –> Inputs –> select Syslog UDP and then click Launch new input. Fill with the values in the screen like below.
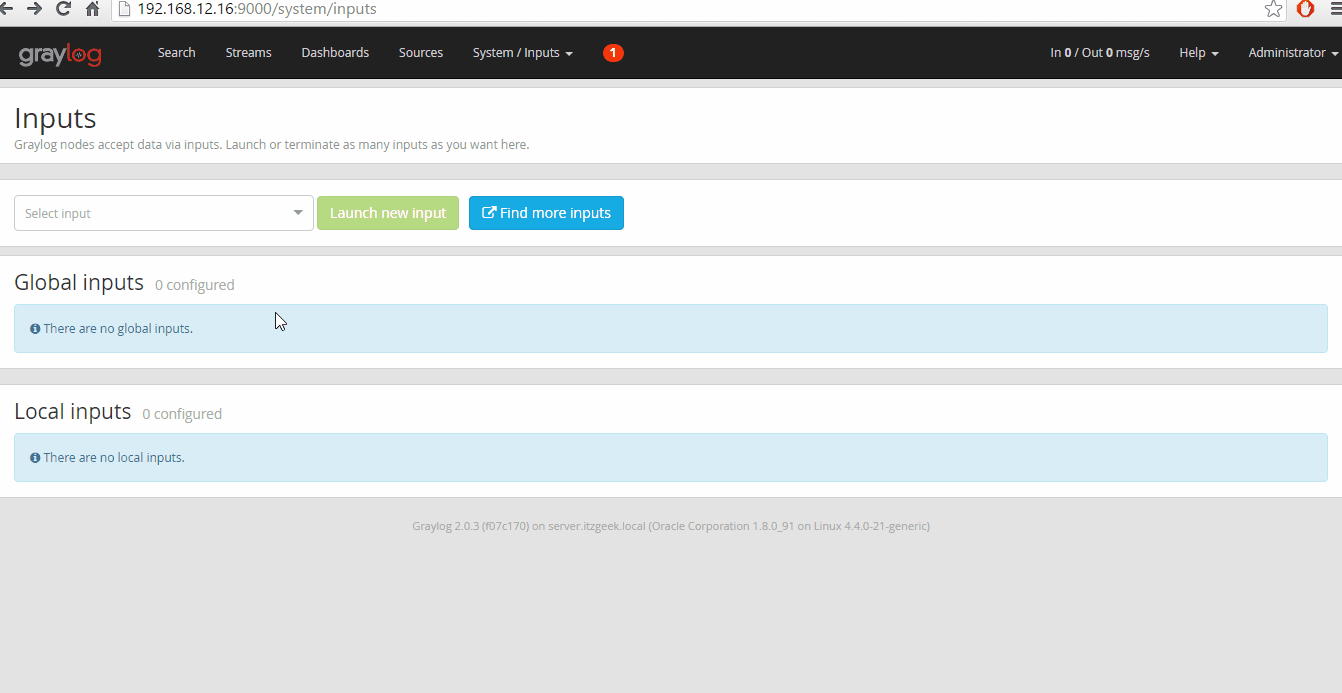
Once you have created the inputs, configure rsyslog or forward any system logs to your–ip-address:1514
Following screenshot shows the logs received by Graylog (Graylog console –> Search).
That’s All! you have successfully installed Graylog 2.0.3 on CentOS 7 / RHEL 7.


